link href='http://fonts.googleapis.com/css?family=Satisfy' rel='stylesheet' type='text/css'> expr:class='"loading" + data:blog.mobileClass'>
Mostrando entradas con la etiqueta D.I.Y.. Mostrar todas las entradas

lunes, 27 de abril de 2015

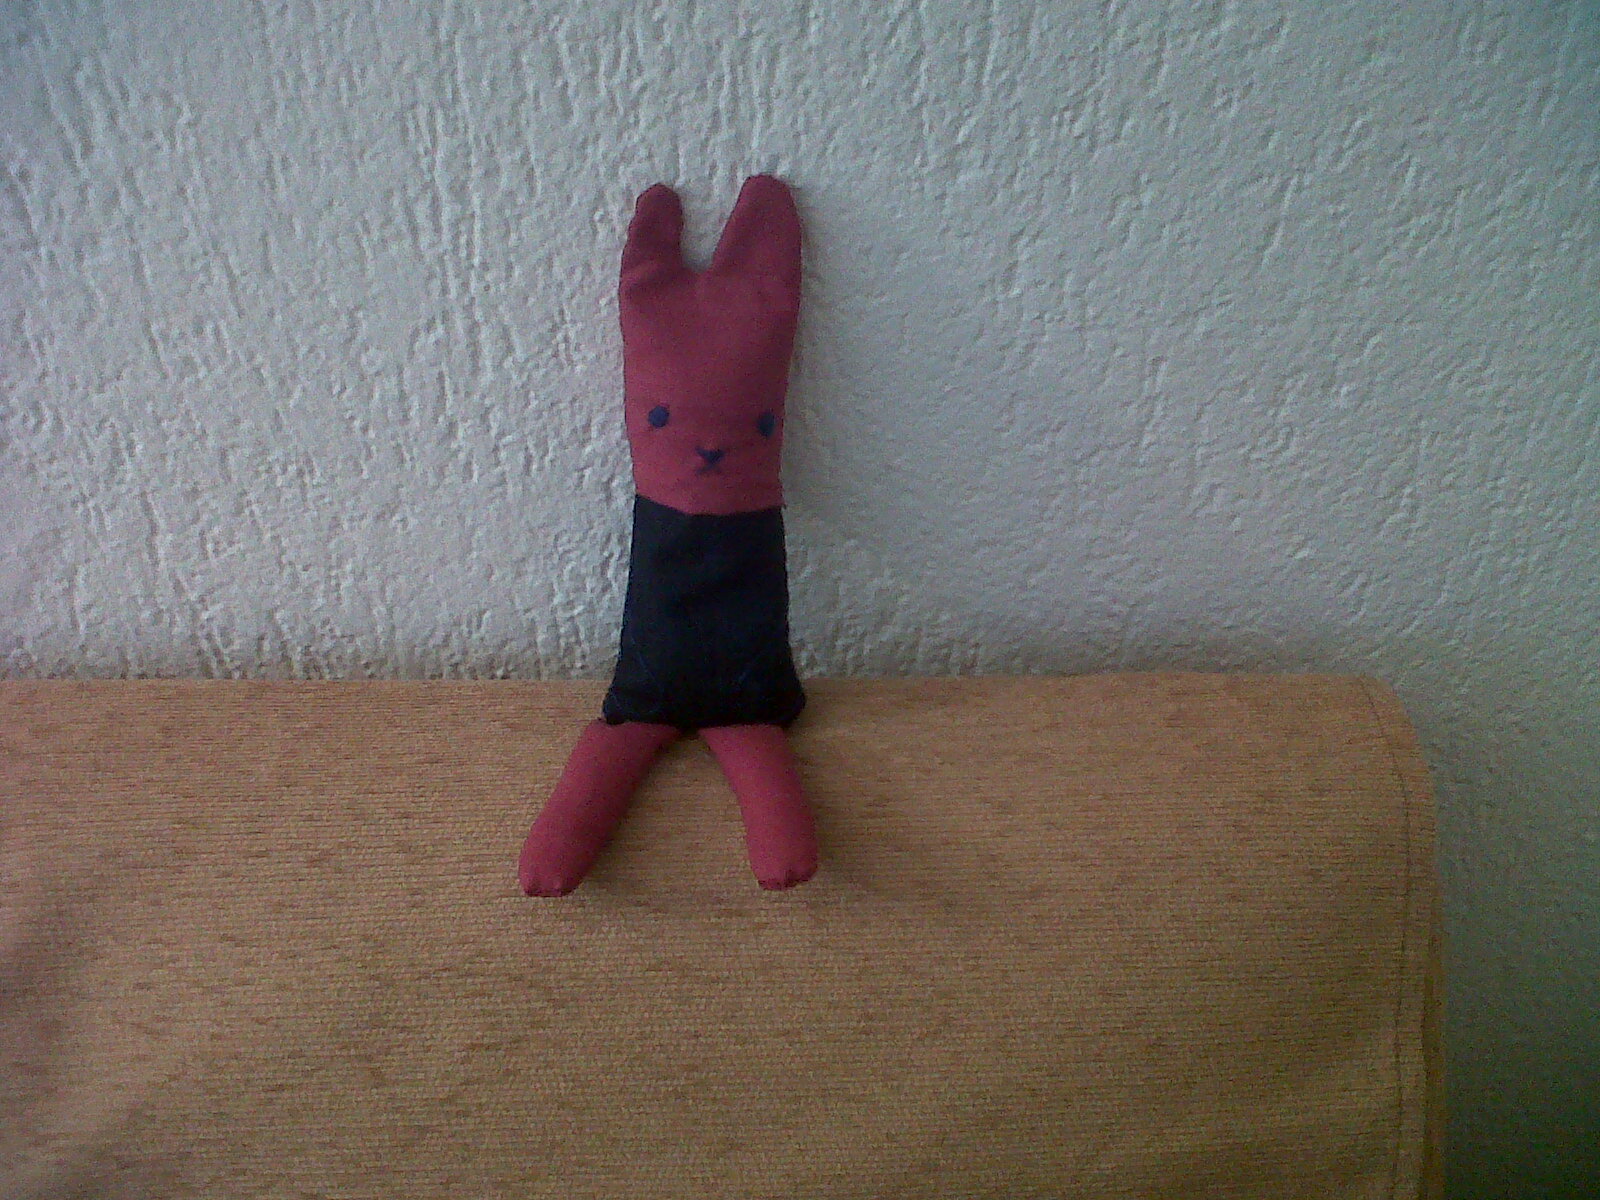
Mutant Ninja Heroe Turtle!

Una Tortuga Ninja se une a nuestra misión, salvar a los Pandas. Este pequeño mutante juega poderosamente desde que lleva su  camiseta. Enjoy!

martes, 14 de abril de 2015

¿Amas los espetos sobre todas las cosas?

Este artista malagueño luce la camiseta "Espetos" como nadie. Si quieres escuchar sus canciones, visita su página: David Verge bandcamp


El nombre de la marca está inspirado en el espeto de sardina, un plato típico de la cocina malagueña. Las sardinas son clavadas en un palo y asadas a las brasas de una barca, tal y como el dibujo muestra. Se sirven en los chiringuitos, merenderos y restaurantes junto a la playa. Yo la he personalizado con el nombre de un barrio con mucho carácter "El Palo"


Si tú también amas los espetos y llevas a Málaga empalada en el corazón, hazte con esta exclusiva camiseta hecha a mano. 

¿Eres 100% Azul y Blanco?

Sudadera Málaga C.F bordada a mano para los pequeños. 

Si te sabes el himno del Málaga desde que naciste...

¡Esta es tu camiseta!


En espetit. no somos integristas y si eres de cualquier equipo, las realizamos igual :-)

domingo, 15 de marzo de 2015

jueves, 12 de marzo de 2015

Bacaladilla handmade


¿A quién no le gusta comer pescado al sol? 


¡A mí me encanta! y si es con amigos y un tinto de verano en Las Acacias, muchísimo más. Por eso, he realizado una bacaladilla o boquerón (pídete el que quieras) para mi casa. 
He aquí varias fotos de mi nueva mascota conquistando el medio terrestre.
Atención a sus escamas.


miércoles, 11 de marzo de 2015

Camiseta Panda Bear. Save Pandas!

Hoy me he inspirado en uno de los animales más bonitos del planeta: El Oso Panda.


El resultado fue una preciosa camiseta con su retrato y bambú...para que coma y nunca desaparezca.

Panda Bear by Elena Valencia.


Materiales: camiseta de algodón orgánico, fieltro blanco, negro, verde y amarillo, hilos acordes con los colores del fieltro y una aguja


miércoles, 2 de mayo de 2012

Bunny


This little bunny was created thanks to Chubby Hobby. Here you have the tutorial I followed and a few of my own modifications: I changed the sizes of the pattern in order to get a bigger bunny and I stuffed it with rice instead of making with cotton, moreover I didn´t put tail.

I hope you enjoy!!  Let's start...

Step 1

Fabics
Cut out the head (x2), body (x2) and legs (x4) using this pattern template here.
Only the smallest amount of fabrics are needed, this project is great for using up scraps!
You will also need some stuffing cotton, needle & threads for embroidery.

Step 2

Embroidery Pattern
I have provided the embroidery pattern for the face and arms in the pattern template. What you need to do is to trace the bunny face onto one of the head pieces and the arms onto one of the body pieces. I didn’t provide a pattern for the bunny tail, I’ll leave that to your creativity, you can embroider a swirl like me, or maybe try appliqué!?

Step 3

One of my friend asked me how I did the bunny face, so I would like to show it here for those who wants to know.
Embroidering - outline
First do a running stitch along the outline.
Embroidering - padding
Then fill the inside with random stitches – this is the padding to give it a bit of an embossed look.
mbroidering - satin stitch
Now satin stitch over the pattern.
Bunny Face
Repeat for the other eye and the nose.
Embroidery done!
As for the arms and tail, either running stitch or back stitch would do.
NB! For detailed areas like the face, I think it’s a good idea not to use threads that are too thick. But for running stitches like the arms & tails, thicker threads are better!

Step 4

Attach head to body!
For bunny’s front, place head piece with the face embroidered and body with the arms embroidered right side together – align the bottom of head piece with top of body piece and stitch together. Press seam open.
Do the same for the back head piece and the body piece with the tail.

Step 5

Leg pieces right side together
For the two legs, stitch 2 leg pieces right side together respectively.
Stuff the legs
Stuff the legs with cotton (or rice). I also stitch the leg close, but this is optional.

Step 6

Pin legs to back
Pin legs onto the right side of the back body as shown in the picture above.
Almost there
Place the front body piece over right side together and stitch around (shown by the orange line), leave a gap for turning right side out. I actually stitch the legs in place first before going around, I think it’s easier.

Step 7


Turn inside out and iron.

Step 8

Stuff with cotton, close the gap and you are DONE! :D
Ballet Bunny Completed
Thank you for reading!!

Resting

Resting II

miércoles, 25 de abril de 2012

My first sock Teddy Bear

A nice couple

It´s so easy to do!


You only have to follow these instructions and you will get a cute sock bear like this.

As you can see, you will need:
  • Two socks, one is the majority of the bear, the other you will need a small amount of the bear's nose. 
  • Marker or something to draw your shapes for cutting
  • Scissors
  • Stuffing
  • Thread
  • Needle
  • 3 small buttons, 2 for the eyes and 1 for the mouth, you can choose the color you like and any other litte embellishments you want to dress up your little friend.
Instructions
  1. Flip your sock inside out and draw the head and ears at the toe end. The heel becomes his little bum and you draw out the legs on the other side of that. The rest of the sock cuff becomes his arms.
  2. Cut out the head shape and then trim a very small portion off the end of the toe. This will become the neck hole where you will stuff.
  3. Then cut out legs and arms
  4. Keeping your sock inside out, sew around the ears, legs and arms. You can do this by hand or use your machine. Leave the ends open on the arms so you can stuff before attaching to the body. 
  5. Flip everything right side out and begin stuffing 
  6. Hand stitch the head closed and then do the same to the neck of the body.
  7. Cut out a piece from the other sock to create his little muzzle. Cut out an oval shape and sew it 
  8. Attach your 2 little eyes, and nose. I used 1 grey button to create his nose and 2 brown buttons to create the eyes.
  9. Stich on his little arms
  10. If you want, you can add any little embellishments to give him some character
My first Teddy Bear from a sock without arms


My first female bear with arms