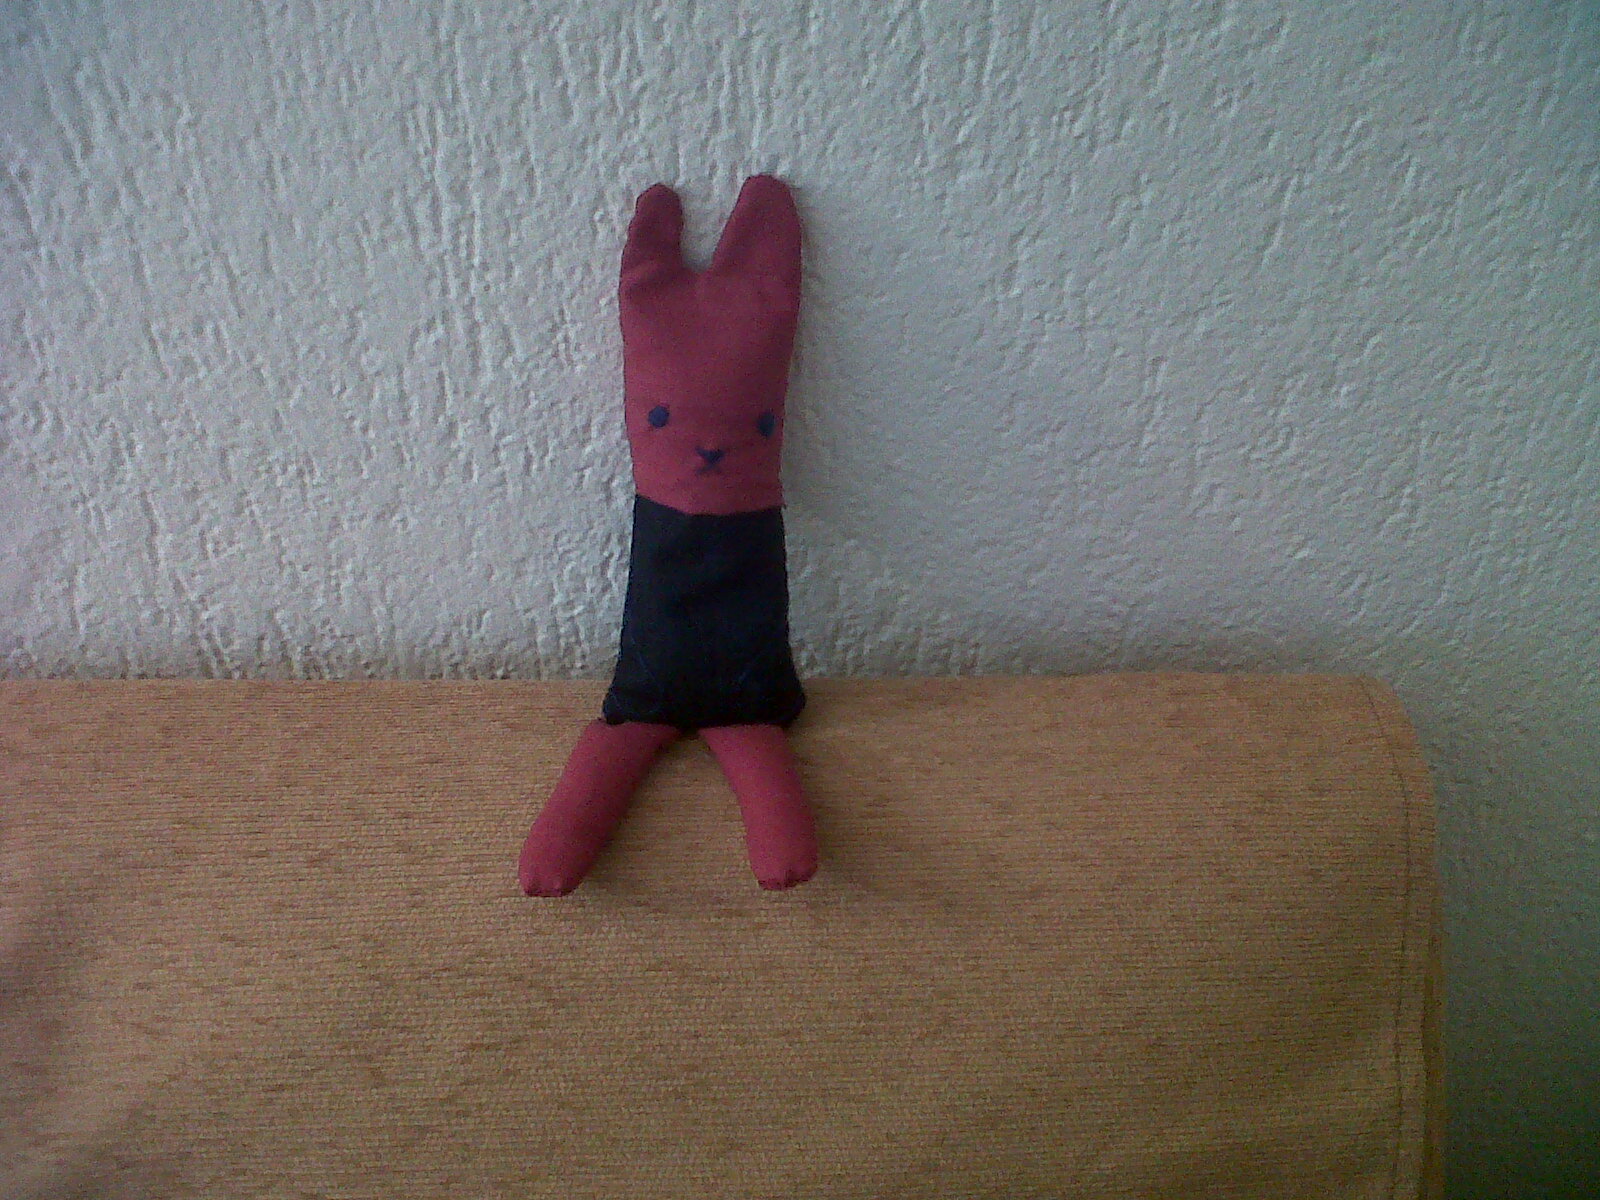
This little bunny was created thanks to Chubby Hobby. Here you have the tutorial I followed and a few of my own modifications: I changed the sizes of the pattern in order to get a bigger bunny and I stuffed it with rice instead of making with cotton, moreover I didn´t put tail.
I hope you enjoy!! Let's start...
Step 1

Cut out the head (x2), body (x2) and legs (x4) using this
pattern template here.
Only the smallest amount of fabrics are needed, this project is great for using up scraps!
You will also need some stuffing cotton, needle & threads for embroidery.
Step 2

I have provided the embroidery pattern for the face and arms in the
pattern template. What you need to do is to trace the bunny face onto
one of the head pieces and the arms onto one of the body pieces. I
didn’t provide a pattern for the bunny tail, I’ll leave that to your
creativity, you can embroider a swirl like me, or maybe try appliqué!?
Step 3
One of my friend asked me how I did the bunny face, so I would like to show it here for those who wants to know.

First do a running stitch along the outline.

Then fill the inside with random stitches – this is the padding to give it a bit of an embossed look.

Now satin stitch over the pattern.

Repeat for the other eye and the nose.

As for the arms and tail, either running stitch or back stitch would do.
NB! For detailed areas like the face, I think it’s a good idea not to
use threads that are too thick. But for running stitches like the arms
& tails, thicker threads are better!
Step 4

For bunny’s front, place head piece with the face embroidered and
body with the arms embroidered right side together – align the bottom of
head piece with top of body piece and stitch together. Press seam open.
Do the same for the back head piece and the body piece with the tail.
Step 5

For the two legs, stitch 2 leg pieces right side together respectively.

Stuff the legs with cotton (or rice). I also stitch the leg close, but this is optional.
Step 6

Pin legs onto the right side of the back body as shown in the picture above.

Place the front body piece over right side together and stitch around
(shown by the orange line), leave a gap for turning right side out. I
actually stitch the legs in place first before going around, I think
it’s easier.
Step 7

Turn inside out and iron.
Step 8
Stuff with cotton, close the gap and you are DONE!


Thank you for reading!!
 |
| Resting |
 |
| Resting II |